The saga begins in my sister's living room, where Miri's toys have completely taken over what used to be the neatest of the family's abodes. For some reason, one day I suddenly realized that many of the containers were open boxes and baskets that occupy as much space as what they're holding without any additional function (like seating, or table space).
That proverbial light bulb went on over my head. I had been trying to decide what to get Miri for her birthday, and decided that instead of getting her more stuff I'd get her something in which to keep all the stuff she already had -- and help my sister recover a few square feet of her living room. That lightbulb was quickly followed by what I can only think of as a sudden burst of insanity: instead of buying a toy chest, I'd make a toy chest for my niece. (Readers should insert their favorite dramatic ominous music here.)
I even knew exactly how I could save all the money I didn't have in the first place: I was going to use my Apa boxes.
 IKEA used to sell wooden storage boxes called "Apa" that could double as benches. I had bought two of them, along with a few cheap pillows, to use as a storage bench for linens at the foot of my bed. Unfortunately, when I upgraded from a double bed to a queen bed the extra length turned the Apa pair from storage bench into choke point moving in & out of my room. Even worse, the oils in the wood made them useless to store linens. Somewhere in my fevered imagination I could clearly see them painted beautifully inside & out, holding scads of my niece's toys & games while also providing surfaces to use either as occasional tables or seating (even a 100+ lb adult could sit safely on one of the boxes if they sat gently).
So there I was, starting a quick and simple project in early April with a deadline of late June. Piece of cake, right? I took my time figuring out what I'd do, settling on a white chest with lots of pictures of Olaf on it. I went to far as to try figuring out if I should use a brush, or a roller, or spray paint; bought several different types of paper to experiment with methods of transferring designs onto the white paint vs. glueing pictures vs. tracing images (I knew better than to depend on my ability to accurately draw Olaf freehand.) Eventually I decided I'd start painting the box and choose the images later. A quick test with regular spray paint showed me I needed to use a good primer, on the slightly oily bare wood... and I made Big Mistake #1. (Probably #2, if you count deciding to make the darn thing in the first place.)
I bought a couple of cans of Kilz, which I've successfully used on all kinds of surfaces... completely forgetting that it does not leave a completely smooth surface. After blithely giving the box a good coating of Kilz inside and out, I realized that spray paint can be kinda expensive so I used an entire can of bargain-brand white enamel.
And then another.
And then another.
And another.
 And did some unplanned sanding, and used another can of paint.
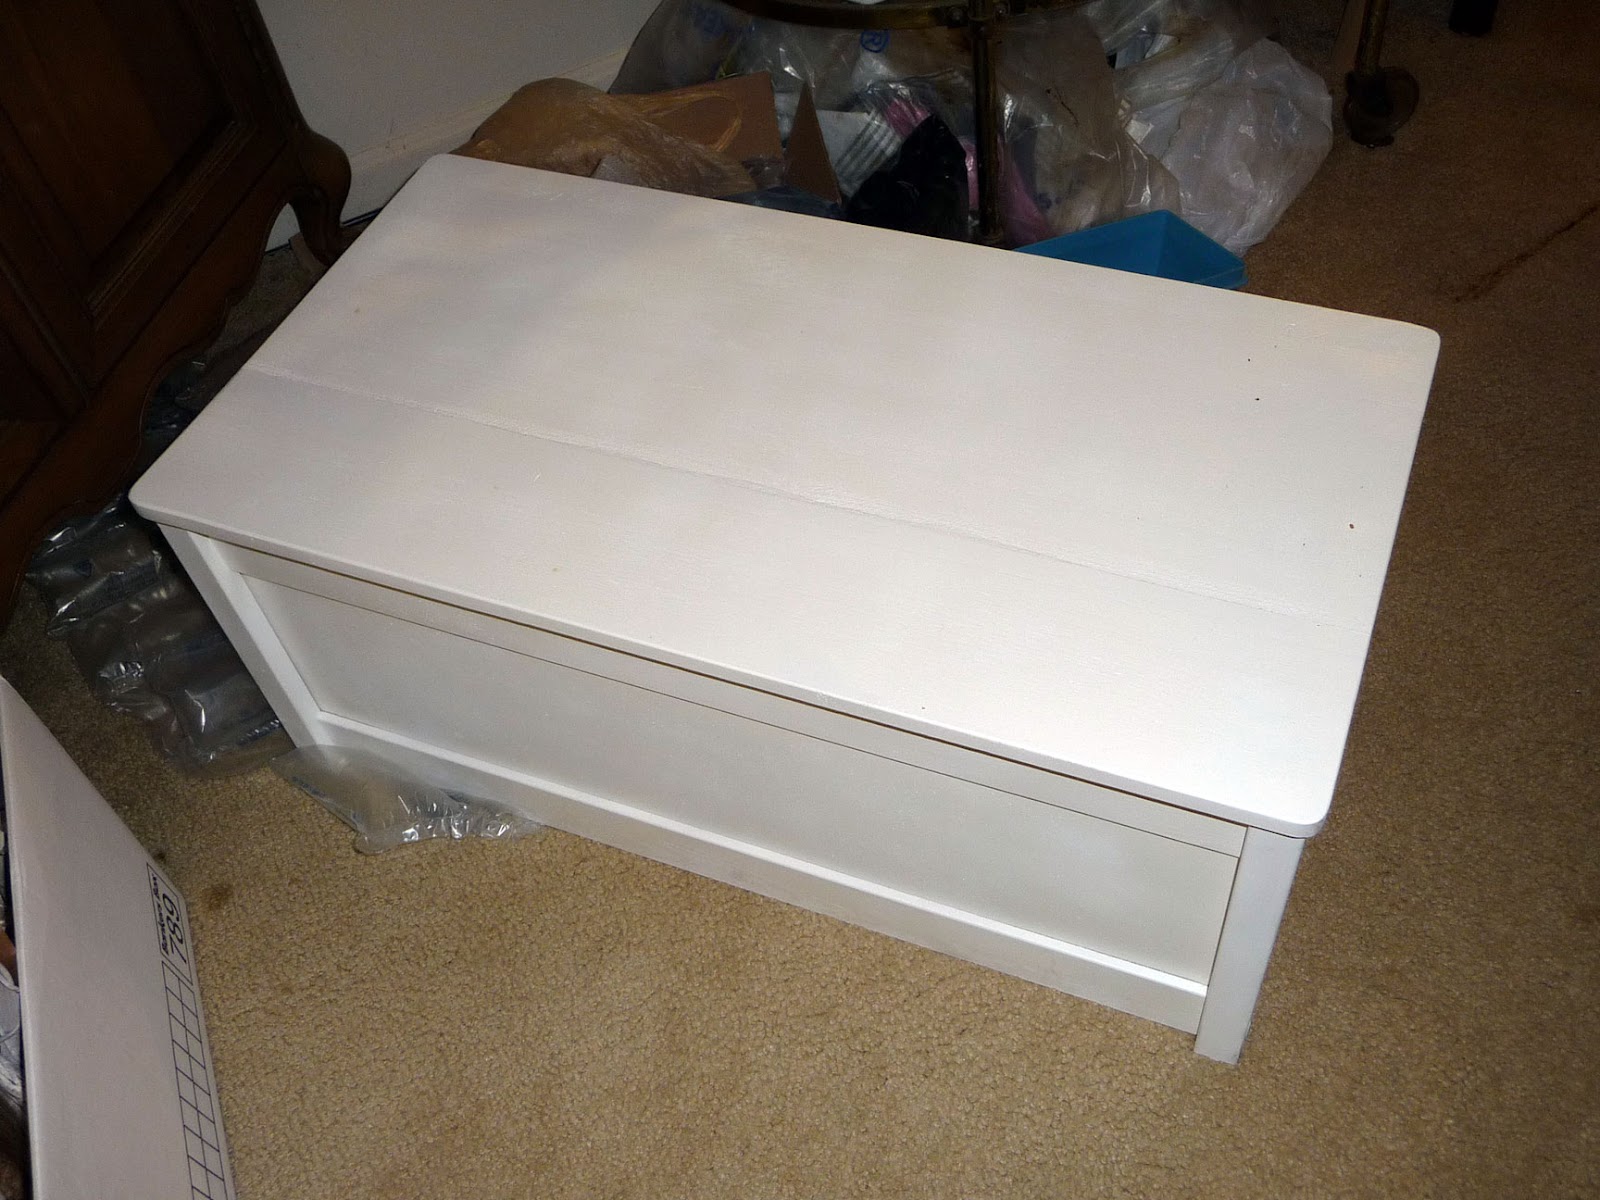
And realized, after spending more than a week choking on paint fumes (I was doing all this indoors, of course), that This Ain't Gonna Work. No matter what I did, I was left with a surface too rough to draw on, and the paint was emphasizing every single imperfection in the surface of the box. Worse, I had so many coats of paint on the darn thing that the top could barely fit into place -- and I belatedly realized that it was perfectly designed to catch and crunch Miri's fingers. After two weeks of fighting with paint fumes, sanding blocks, and three brands of increasingly expensive cans of white spray enamel, I had a rough-surfaced, vaguely white Apa that smelled of aerosol paint and that looked less like what I was trying to make the more I worked on it, with a top that didn't fit.
Time for Plan B.
Um... Oops. I didn't have a Plan B. The whole idea had been to use something already on hand so that I wouldn't have to shell out lots o'bucks while finishing the project in time to present a finished product to my niece on her birthday. Still thinking IKEA, I remembered seeing a toy chest in the warehouse during one of my visits (a nice, sturdy one with an attached lid that featured slow-close hinges specifically to avoid pinching small fingers).
Problem was, I didn't remember how long ago I'd seen the darn thing -- it could have even been back when I actually worked at IKEA roughly a decade earlier. (Side note: I was part of the crew that opened the College Park, MD store; my decorated hard hat sits atop a bookcase in my bedroom, and I still use the steel-toed boots & safety glasses we were required to wear during construction when I work in the yard. So yeah, I have a soft spot for the place.)
Swallowing my pride (and ignoring the whimpering of my wallet), I headed back to IKEA to buy the remembered toy chest... only to findit had long ago followed the Apa box into apparent extinction. Wandering around the store, I decided to see if there were any cute stuffed animals in the Children's department... and discovered the Trogen storage bench.
It's small enough to fit in AJ's living room... has a slow-close lid and cutouts to give little hands & fingers plenty of room... doubles as a relatively sturdy bench... and has a nice, smooth surface with lots of room for pictures of Olaf. Okay, the darn thing only comes in day-glo yellow, but that's what paint is for, right...?
About $80 and an hour later later I happily unboxed the new target of my spray-painting aspirations and began figuring out which Olafs would go best on which surface. I added at least one or two coats of clear lacquer over the designs to my painting plans, but had already spent so much on cheap paints with no love given in return that I decided to use more expensive spray enamel -- and also discovered that I could easily transfer line drawings onto the surface of the chest with graphite paper (like old-fashioned carbon paper but erasable like pencil). I bought a few cans of Rustoleum 2X Ultra Cover (Also bonds to plastic! No primer needed!) and got to work.
And made Big Mistake #2 and Big Mistake #3. In no particular order, I started spray-painting in the entryway of my house with a tarp on the floor but nothing protecting the nearby walls, railing or furniture -- and decided to save some time and money by skipping any surface preparation steps beyond making sure it was clean. I managed to turn one panel from bright yellow to a nice, smooth, even semi-gloss white...


 ...and while admiring my handiwork, realized that I was also turning the oak railing that separates the foyer from the living room a nice, smooth, even semi-gloss white as well. A quick dive into my paper recycling boxes and lot of masking tape later, I had the railing & couch protected. It wasn't pretty, but it allowed me to start painting "for real" and I went to town. Using small boxes to hold the various panels up off the floor, over the next several days I slowly turned the yellow Trogen into a white Trogen.
Now it was time to try getting Olaf onto the Trogen. (Hey, at least they share a vague geographic commonality!) Having spent about $20 on samples of different paper I was going to use to either glue pictures onto the wood or to create my own stencils (yes, I actually thought I'd create my own stencils at one point, as if further proof of my insanity was needed), I shelled out a few dollars more for a fine point paint marker and a full set of reusable alphabet & punctuation stencils.
All supplies on hand, I selected & printed a few Olaf images from some coloring pages I'd downloaded for last year's "Frozen" themed party and got ready to trace them onto the various Trogen panels. I decided to start on the front, so after vacuuming a part of the carpet to make it extra-clean I laid everything out and... hey, what's that...?
 The "that" was a series of rough spots I could feel as I ran my hand over the panel. Holding a flashlight parallel to the surface, I found several patches where all that lovely white enamel guaranteed to stick to almost anything without primer had unstuck itself from whatever magical kid-proof enamel IKEA used and had formed patches of bubbles, totally unsuitable for drawing on and guaranteeing later failure of the paint job. Rueing my decision to not go through the usual surface preparation before applying paint, I began sanding down the rough spots. (Did I mention the $15 I spent on various grades of sanding sponges?) No big deal, I thought; I'd re-spray, let it dry & cure for about 12 hours, and get back to Olafing the chest.
I decided to run a couple of tests during the wait, so I pulled the first sheet of graphite paper from the pack, grabbed the panel that would be the (usually unseen) bottom of the box, and traced a few Olaf faces onto it. Gorgeous! The four small images taught me what I needed to know about handling the paper & gave me some ideas to make the tracing easier... so now let's see how that fine-pint paint marker works, shall we...?
 It worked, all right -- but the "fine point" turned out to be a chisel point that made drawing thin detail lines absolutely impossible no matter how careful I was. Whilst saying numerous very impolite things to no one in particular, I noticed a plain ol' black Sharpie marker on the table nearby-- and it worked like a charm. Since this was the bottom of the box, I wasn't too worried about one Olaf face being nicely detailed while another looked like a cave painting and two others were unfinished. It worked, and that was all that mattered at that point.
By this time I was a little gun-shy about all things spray enamel, so I couldn't be sure the Sharpie ink wouldn't run when I sprayed clear lacquer over it. This resulted in delay until I could get to the store and buy a can of the stuff to test it with. (Have you noticed how many purchases I've made for my "cheap" project so far...?) Amazingly, the clear enamel worked exactly as advertised, so after all my work I had... the bottom panel completed, and a living room that smelled like spray paint and was filled with unassembled panels without any artwork on them.
And "early April" had suddenly become "early May" and the clock, it was was a-tickin'...
It's small enough to fit in AJ's living room... has a slow-close lid and cutouts to give little hands & fingers plenty of room... doubles as a relatively sturdy bench... and has a nice, smooth surface with lots of room for pictures of Olaf. Okay, the darn thing only comes in day-glo yellow, but that's what paint is for, right...?
About $80 and an hour later later I happily unboxed the new target of my spray-painting aspirations and began figuring out which Olafs would go best on which surface. I added at least one or two coats of clear lacquer over the designs to my painting plans, but had already spent so much on cheap paints with no love given in return that I decided to use more expensive spray enamel -- and also discovered that I could easily transfer line drawings onto the surface of the chest with graphite paper (like old-fashioned carbon paper but erasable like pencil). I bought a few cans of Rustoleum 2X Ultra Cover (Also bonds to plastic! No primer needed!) and got to work.
And made Big Mistake #2 and Big Mistake #3. In no particular order, I started spray-painting in the entryway of my house with a tarp on the floor but nothing protecting the nearby walls, railing or furniture -- and decided to save some time and money by skipping any surface preparation steps beyond making sure it was clean. I managed to turn one panel from bright yellow to a nice, smooth, even semi-gloss white...


Now it was time to try getting Olaf onto the Trogen. (Hey, at least they share a vague geographic commonality!) Having spent about $20 on samples of different paper I was going to use to either glue pictures onto the wood or to create my own stencils (yes, I actually thought I'd create my own stencils at one point, as if further proof of my insanity was needed), I shelled out a few dollars more for a fine point paint marker and a full set of reusable alphabet & punctuation stencils.
All supplies on hand, I selected & printed a few Olaf images from some coloring pages I'd downloaded for last year's "Frozen" themed party and got ready to trace them onto the various Trogen panels. I decided to start on the front, so after vacuuming a part of the carpet to make it extra-clean I laid everything out and... hey, what's that...?

I decided to run a couple of tests during the wait, so I pulled the first sheet of graphite paper from the pack, grabbed the panel that would be the (usually unseen) bottom of the box, and traced a few Olaf faces onto it. Gorgeous! The four small images taught me what I needed to know about handling the paper & gave me some ideas to make the tracing easier... so now let's see how that fine-pint paint marker works, shall we...?

By this time I was a little gun-shy about all things spray enamel, so I couldn't be sure the Sharpie ink wouldn't run when I sprayed clear lacquer over it. This resulted in delay until I could get to the store and buy a can of the stuff to test it with. (Have you noticed how many purchases I've made for my "cheap" project so far...?) Amazingly, the clear enamel worked exactly as advertised, so after all my work I had... the bottom panel completed, and a living room that smelled like spray paint and was filled with unassembled panels without any artwork on them.
And "early April" had suddenly become "early May" and the clock, it was was a-tickin'...

No comments:
Post a Comment